

Evgeny Ramazanov
CTO
Reading time: ~ 13 min
September 25, 2024
Evgeny Ramazanov·CTO·Reading time: ~ 13 min·September 25, 2024
How to create a mobile app from scratch: steps and tips for self-directed development for beginners
Mobile devices are part of our everyday needs—they help us handle work tasks, stay in touch with friends, plan our day, have fun, and even learn. But all of that is thanks to mobile apps. We are used to being on the user side—but what if we switch to the other side, development? How is a mobile app built? Can you build one yourself? It can be a great startup project, a business solution, or simply an app that solves a personal problem. And if you think it is hard—it is! But we will walk you through every step of building a mobile app from scratch, even if you are a complete beginner.
Define your idea and goal
The first and arguably most important step is a clear understanding of why you need the app. What problem will it solve? Many successful products started with a precise, detailed answer to that question. Think of your app as a superhero: what powers does it have, how does it use them, and what problems does it save people from?
What problem do you want to solve?
Strong apps solve real user problems. If your app is not useful, it is unlikely to become popular. You might help people plan their time, track spending, learn languages, or get fitness tips. Know exactly which problem your users have today.Who is your target audience?
When you know who you are building for, every next step gets easier. Students, parents, freelancers, entrepreneurs—each group needs different design, features, and promotion. The more detailed your persona, the better you understand needs and pain points.What features will the app include?
Trying to pack everything in at once is a path to failure. Focus on one core feature first, then add more based on user feedback.How will your app beat competitors?
The market is crowded. To stand out, your app must be different—better functionality, speed, or UX. Think about what will surprise users in a good way.
A clear idea is your starting point. The rest is easier when you know what you want to achieve.
Market and competitor analysis!
Before you dive into development, understand what already exists. Do not write code until you study the niche. You will avoid competitors' mistakes and find ways to do better. Here is what to do:
- Study competitors: Which apps already solve the same problem as yours? What are the strengths and weaknesses of their features and design? What do users write in reviews? This way you will learn what your target audience likes and what is missing in existing offerings.
- Read reviews: Once again, as a separate point: This is perhaps one of the best sources of information. Users came on their own and shared their opinion, and you studied and recorded everything. This is not only information about competitors' weak spots, but also a source of ideas for improvements in your app.
- Analyze your ideas: After analyzing competitors, you will be able to draw conclusions: which features are worth improving, what can be simplified, which interface elements should be made more intuitive. Your idea will be refined into a clear, detailed brief.

Research takes effort, but it pays off. You spend time upfront and save much more during development—and avoid issues that often appear only after release.
UI/UX design—not prettier, but easier to use
This is what users see when they open your app. The interface is your product's face. An app can be incredibly useful, but users will uninstall it if it is hard to use. How do you design it well?
- Simplicity is the key to success: Do not overload the app with unnecessary elements and buttons. The simpler the interface, the easier it is for users to learn.
- Easy navigation: Your users should not have to think about how to find the right button or feature. Everything should be visible and easy to reach. If a key task takes five screens, rethink the design.
- Create a prototype: Before you start development, prototype your screens. Figma will help you visualize the idea and see how it will work. Prototypes are a great way to test the interface and make changes before coding begins.
- Test with friends and colleagues: Give friends or colleagues access to your prototype and ask them to tap through the screens. Let them try to complete the tasks your app is being built for. This is the simplest research that will show what to improve before real users start tapping.

Design is not a pretty picture—it is user experience, and success depends on it.
Choosing platform and technology
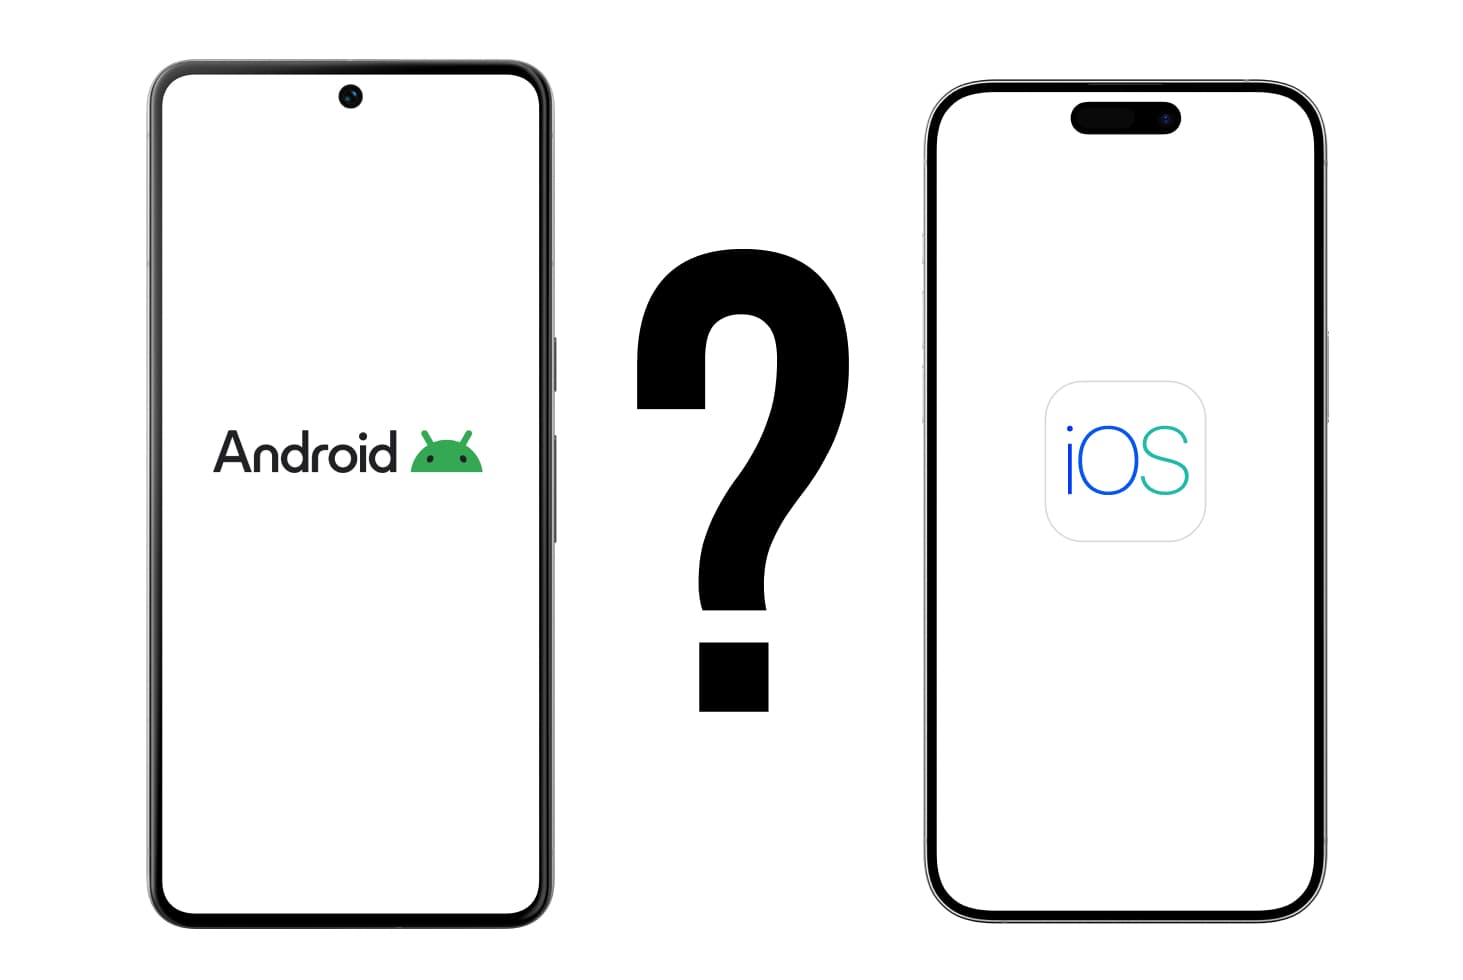
When you know how the app should look and work, choose the platform: iOS, Android, or both. Budget and audience will guide the decision.
If the app needs a server, plan backend work too. Common options include Node.js, Ruby on Rails, Python with Django, and others.
Platform and stack choices affect how fast and how well you can deliver the project.
- iOS or Android? If your audience mostly uses Apple devices, start with iOS. To reach the widest audience, consider Android—or go cross-platform from the start.
- Cross-platform frameworks such as Flutter, React Native, or Xamarin let you target iOS and Android with one codebase, saving time and cost.
- Languages: Swift or Objective-C for iOS; Kotlin or Java for Android; JavaScript (React Native) or Dart (Flutter) for cross-platform.
Building an MVP
Do not try to ship a perfect app with every feature on day one. Start with a minimum viable product (MVP)—core features that solve the main problem. Why?
- Save time and money: By building an MVP, you can get the product to market faster and start collecting feedback. This helps you understand what works and what does not before you spend a lot of time and money on extra features.
- Get feedback: An MVP lets you test the idea with real users and understand what they think about your product. This helps you tune the app and add the features that truly matter to your audience.
- Reduce risk: After launching an MVP, you can see how in-demand your idea is. If something goes wrong, you will find out early, while changes are still possible.
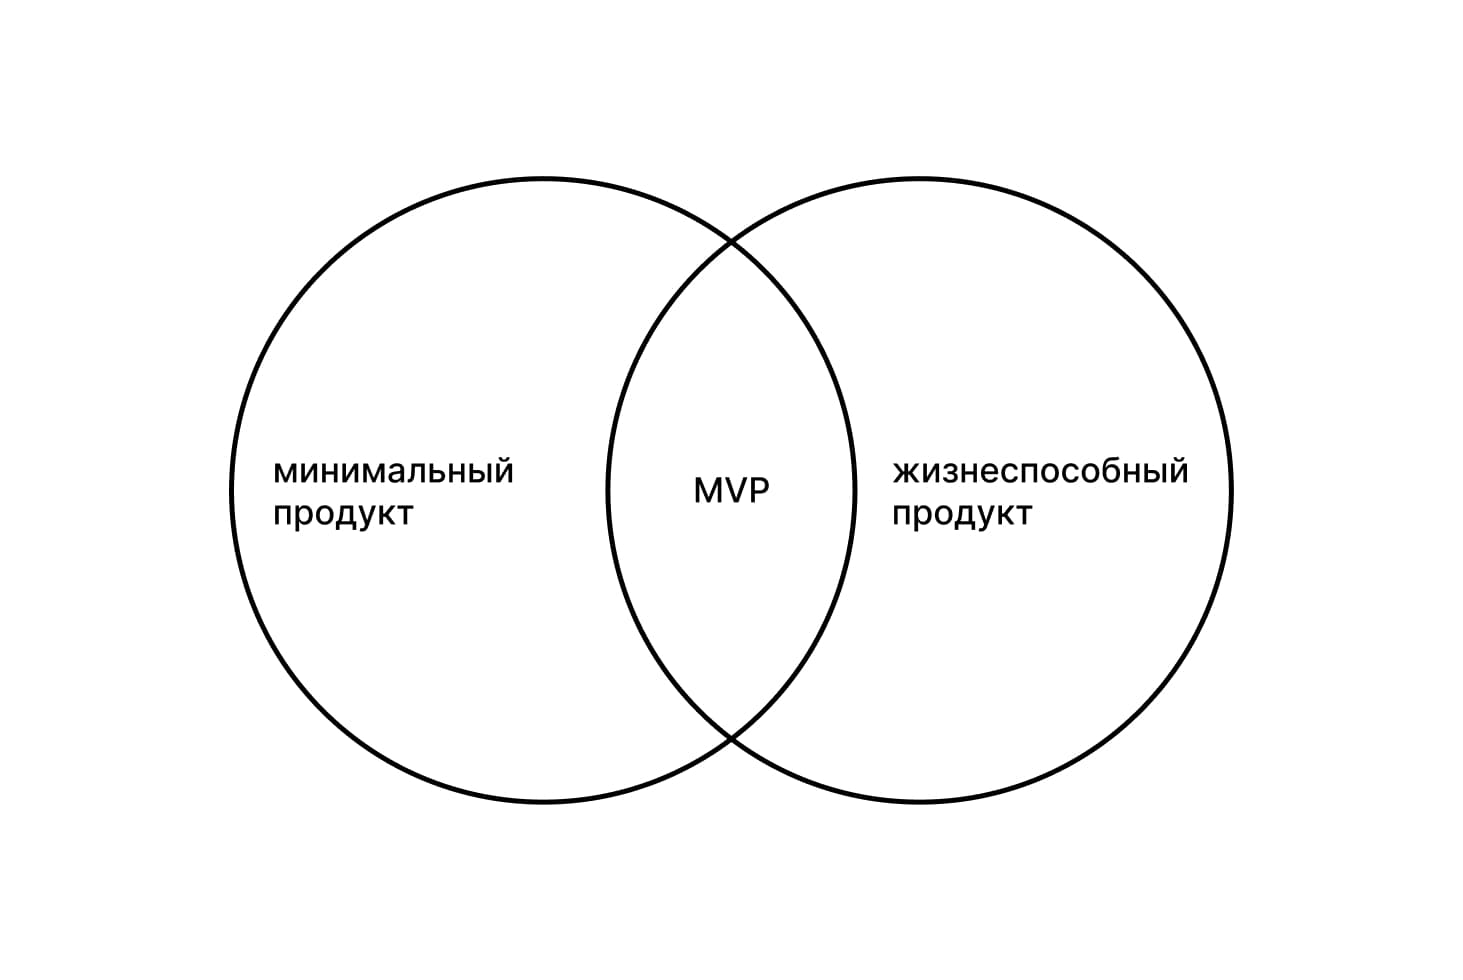
An MVP is a practical way to launch quickly and validate the idea without overspending.
Finally—development
So you have an idea, a prototype, a chosen platform, and technologies. Now it is time to develop. But what if you do not know how to code? Do not worry—you still have options:
- Learn to code: If you are determined to build the app yourself, you will need to learn programming basics. Today there are many courses and learning materials to help you master languages such as Swift, Kotlin, or JavaScript. It takes time, but you will control the development process from start to finish. Once you know the basics, join our Akademka school, where you can study any programming track in depth—with the opportunity to intern at our company.
- App builders: If you do not need a complex app with unique logic, you can use no-code platforms. They offer ready-made templates and blocks to assemble an app in just a few hours. It really is faster and simpler, but quality will suffer badly. Just a heads-up…
- Hire freelancers or a studio: If development feels too hard or you do not have time, you can hire professionals. This will increase the project budget, but you will get a quality app built by experts. Freelance is relatively cheaper and relatively decent in quality. A studio costs more, but is reliably higher quality.
Whatever path you choose, development needs time and attention to detail.
Testing—finding bugs
When the app is ready, test it thoroughly. Even if everything seems fine, something can still break.
- Functional testing: Check every feature of the app. Make sure they work as you intended. If the app does not perform its functions or does so incorrectly, users will simply choose another one.
- Performance testing: The app should run fast and smoothly. Nobody likes a laggy or freezing app. Check how well it works on different devices and OS versions.
- Usability testing: Let several people use your app and watch what they do. This will help you understand how intuitive and clear the interface is.
Testing is a critical stage that helps you avoid negative reviews and improve product quality and user loyalty.
Publishing and promotion
Testing went well? Great! Now it is time to launch the app in the App Store and Google Play. But do not think it ends there—it is important to promote your app properly so as many people as possible learn about it.
- Register a developer account: To publish an app, you need to register as a developer in the App Store or Google Play. This is a paid subscription, but without it you cannot upload your app to the store.
- Prepare marketing materials: You need an app description, attractive screenshots, and ideally a promo video. This helps users better understand what your app is about.
- App Store Optimization (ASO): Use keywords in the app name and description so it ranks better in App Store and Google Play search.
- Launch an ad campaign: Consider promotion through social networks and Google Ads. This will help attract your first audience.
- Collect reviews: The more positive reviews your app has, the higher it rises in the rankings. Encourage users to leave reviews and share their impressions.
Ongoing updates and support
After your app is launched, do not forget about support and updates. Here are a few things to keep in mind:
- Fix bugs: Always respond to user reviews and fix the bugs they report. The faster you solve a problem, the better for your app's reputation.
- Add new features: Over time, you can respond to user requests or changes in the competitive landscape by adding new features and improving the interface.
- Monitor performance: Use analytics to track how users interact with your app and improve it based on that data.
Conclusion
Building a mobile app from scratch is a complex but interesting process that takes patience and persistence. Experiment, research, and test ideas, listen to user feedback, and keep improving your product. With the right approach, your app will not only solve users' problems but can become a successful project.